This starter guide shows you how to connect a DHT11 temperature and humidity sensor to a Duck and view the readings directly in your OWL DMS dashboard. But this is more than just a sensor demo, once deployed inside your mesh, the data isn’t stuck at the device level. Every measurement is carried across the LoRa mesh and into the cloud gateway, where it becomes part of your network view. That means you can place SensorDucks anywhere in the field — a greenhouse, warehouse, or outdoor environment, and monitor live conditions from the DMS, alongside your other Ducks and data streams.
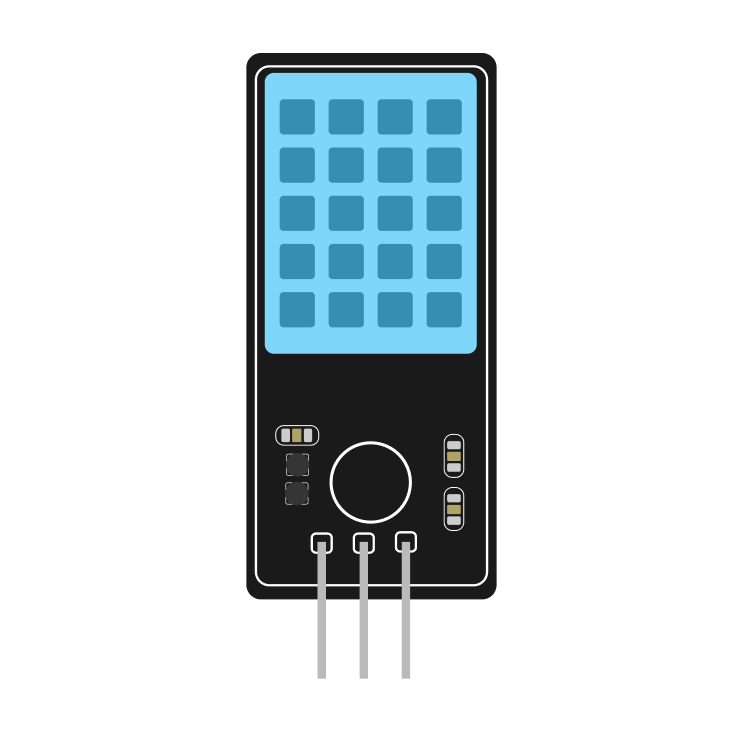
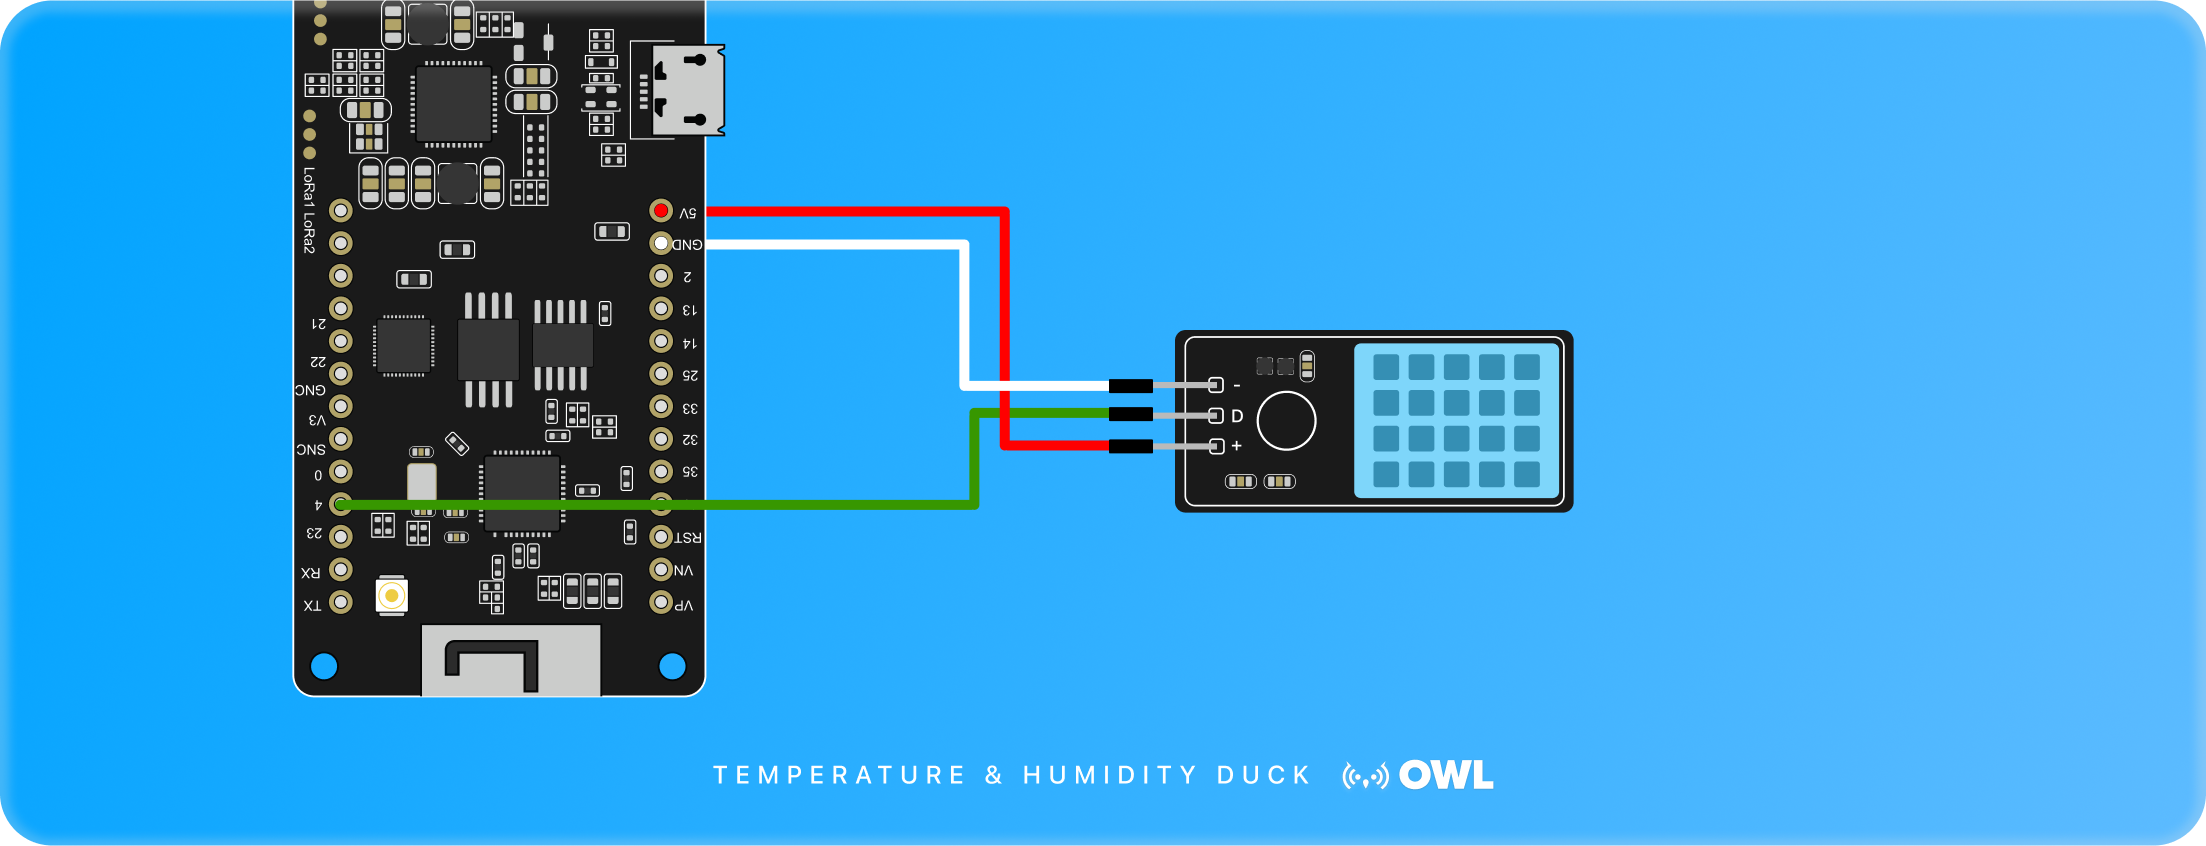
First, wire up your DHT11 temperature and humidity sensor to the Duck. Use the diagram below as a reference:
GND → GND (common ground between Duck and sensor)
VCC → 3.3 V or 5 V (power the sensor; check your DHT11 breakout board, most accept both)
Data → GPIO pin (we recommend GPIO 4)
💡 Tip: Some DHT11 breakout boards have a built-in pull-up resistor on the data line. If you are using a raw DHT11 sensor, make sure to add a 10kΩ pull-up resistor between VCC and the Data pin.
You’ll enter this chosen GPIO pin later in the firmware builder.
Step 2 Open the Flasher
Log in to your OWL DMS instance in a Chromium-based browser (Chrome, Edge, or Brave).
Navigate to Flash Device in the left-hand menu.
Plug your Duck into your computer via USB
Step 3 Select Sensor Duck Firmware
From the list of firmware templates, choose Sensor Duck (DHT11). This firmware enables reading of both temperature and humidity values and passes them into your mesh network.
Step 4 Enter Configuration
You’ll now tell the firmware how your sensor is connected:
Data Pin: Enter the GPIO pin number where you soldered the DHT11 data line (e.g., 4).
💡 Tip: You can later redeploy multiple SensorDucks across your mesh with different pins or sensors — the DMS will automatically tag and organize the incoming data.
Step 5 Flash the Device
Click Flash Firmware. The process will compile and upload the configuration to your Duck.
Once flashing completes, the Duck will automatically reboot.
If everything is wired correctly, your SensorDuck will begin taking temperature and humidity readings and transmitting them over LoRa into your mesh.
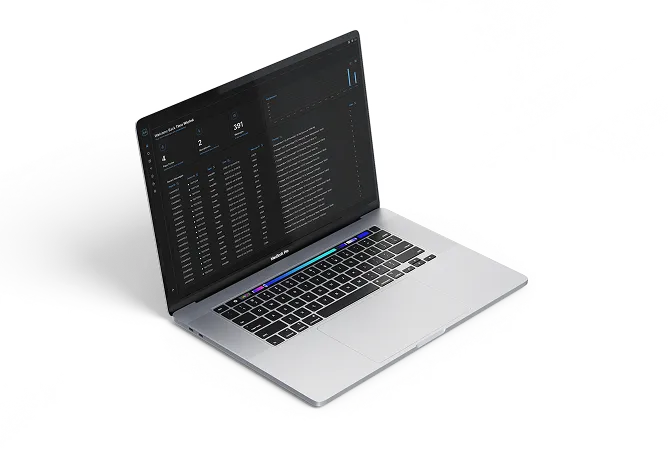
Step 6 View Data in the DMS Dashboard
Open your DMS Dashboard.
Under Networks, find your SensorDuck.
You’ll see real-time temperature and humidity values flowing from the DHT11 into your network.
Messages are relayed through MamaDucks, delivered to the PapaDuck, and then pushed into the cloud where you can graph, export, or integrate them with APIs.
Become a builder
Build your first network today
Order a starter kit, flash your first Duck, and see your network come alive. Join the OWL community to share your build and get support.